Balloon tying: quick work without painful fingers
Balloons Knots is one of the most common techniques. Do it 400 times and your fingers might start to hurt. The solution consists of two parts. Technique: only inflate the round part, stretch the neck so that the latex bends, and wrap the neck around your two fingers instead of one. And material, because that part is almost always overlooked. With soft latex, a knot costs you almost nothing. With stiff latex, you feel every knot back in your fingers. Below is the technique step by step, and why your balloon choice makes the biggest difference.
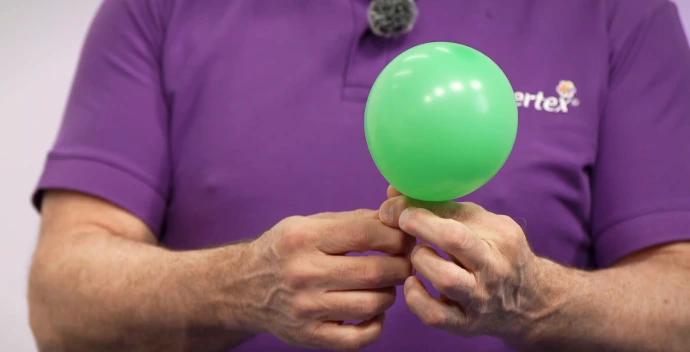
Why tying balloons hurts
The pain does not come from the knot itself. There are three things that work against you.
Friction. Each neck drags over the same two centimetres of skin on your index and middle finger. After a few hundred balloons, it gets warm, then red, and eventually, you get a blister.
Repetition. You pinch and pull with your fingertips for hours. That is the weakest way your hand can work. Your fingers do all the work while your hand and forearm do nothing.
The latex. No one talks about this, and this determines your day the most. How hard you have to pull and how hard the neck rubs against your skin is in the balloon, not in your hands.
Why the quality of the latex determines your day
Why the quality of the latex determines your day
Two balloons of the same size can feel completely different. It's not in your head, it's in the material.
Soft or stiff
Soft latex stretches easily. You pull on the neck and it goes with you, it glides away smoothly without chafing.
Stiff or dry latex does exactly the opposite. You have to pull harder, your skin gets more friction, and the knot doesn't want to tighten. Do that 300 times and your fingers might start to hurt.
The neck is where you notice it.
The neck is the only part of the balloon that you really have in your hands. At Sempertex, it is therefore checked separately. Every balloon goes through a check for colour, neck, stretch, and elasticity before it leaves the factory.
A good neck is evenly thick all around and therefore stretches evenly. A bad neck stretches further in one place than in another. And that's exactly where it tears, while you are pulling it.
Strong latex pops less.
Flexible latex hardly tears, which means your balloons pop much less quickly. That not only saves you a lot of stress but also a lot of time. Because every popped balloon means re-inflating, measuring, tying, and cleaning up the mess. With good quality, you work much faster and more pleasantly!
Quality latex stays beautiful longer.
Good high-quality latex holds air and helium much better. The practical result? Your balloon decoration looks just as tight the next day.
Do you opt for cheap balloons with poor air retention? Then you often only discover that at the location itself: half of your balloon arch has sagged and you have to start tying again at the last minute. With quality latex, you avoid that stress on the busy day itself!
100% Pure latex for the best result.
Sempertex balloons are made from 100% natural latex, pure sap from the rubber tree. We consciously do not add cheap fillers or plasticisers. Moreover, the balloons are ISO and TÜV certified.
Why is that important? Fillers make latex stiff and rigid. That is exactly the difference between a balloon that works smoothly and a balloon that feels like a tightly stretched elastic band.
The conclusion is simple: even the best knotting technique in the world cannot hide poor quality. Start with good material, and the rest will follow!
Step 1: Inflate the balloon correctly
Smooth knotting starts BEFORE the knot
Only inflate the round part of the balloon and leave the neck empty. If air gets into the neck, you lose the length you need to tie a knot. Moreover, the latex is immediately under tension, which cuts into your fingers and increases the chance of popping.
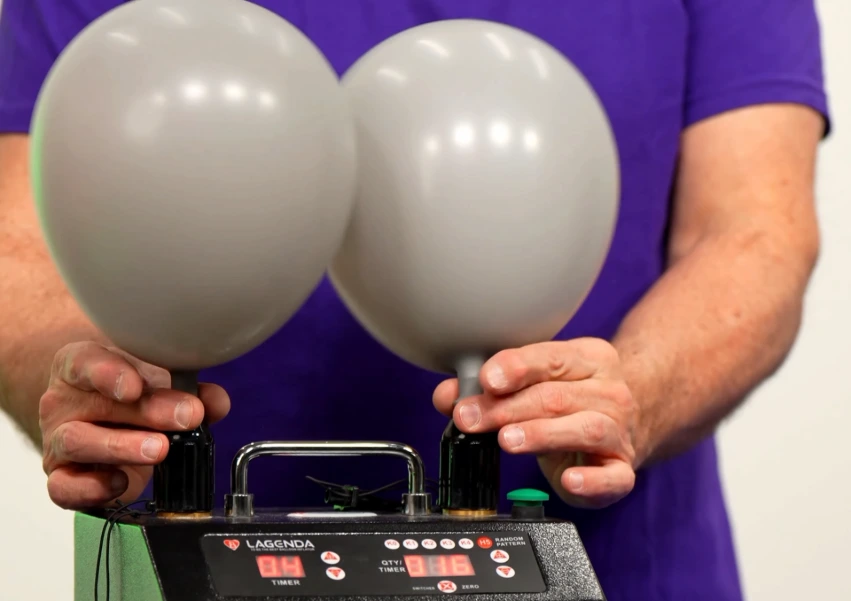
Then measure the balloon. Pass it through a sizer so that each balloon in the garland is exactly the same size. A tight and consistent sizing gives an organic arch an immediate professional appearance.
Step 2: The two-finger knot
This is the professional method that Sempertex teaches. If you practice these steps a few times, you will eventually do it on autopilot.
Pinch the neck closed: Pinch the nozzle closed with your thumb and index finger, exactly where the rounded part begins. This keeps all the air nicely in the balloon.
Stretch the nozzle out: Pull the neck with your other hand two to three times as long and hold for a moment. This step is skipped by almost everyone, but it makes the latex softer and more flexible. This saves your fingers!
Twist around two fingers: Turn the neck around your index and middle finger. Use really two fingers instead of one. With a larger loop, the knot pulls much easier.
Push the nozzle through: Spread your two fingers a little apart and push the end through the hole.
Pull: Slide your fingers out and pull the nozzle tight. The knot is immediately secure.
Are your balloons still deflating? Then it probably went wrong at step 1! If air has slipped into the neck, tie the balloon at a place where there is still air instead of on the flat part.
Three ways to tie faster
Stretch first, before inflating. Give each neck a good tug before the balloon goes on the inflator. Warm, pre-stretched latex takes a tighter knot and drags less during pulling.
Knot in pairs, not individually. For garlands and columns you need duplets, not loose balloons. Inflate two, measure two, tie them neck to neck. That’s one knot instead of two, and the duplet is the building block for everything above: a trio is one balloon to a duplet, a quartet is two duplets intertwined, a sextet is two trios. Building in duplets from the start saves you a whole round of actions later.
Work in blocks. Inflate twenty, tie twenty, assemble twenty. Changing every few seconds keeps one hand in the same three movements without recovery. Working in blocks allows each muscle group to rest while the other works, and it’s faster because you’re not constantly switching grips.
Hand care on long installation days
- Stretch before and after. Fingers, hands, forearms. Two minutes at a time.
- Tape the contact points. Fabric tape on the index and middle finger of your tying hand completely prevents friction burns.
- Drink and hydrate your skin. Dry skin cracks, supple skin glides.
- Take real breaks and switch movements. Switch hands, switch tasks, put the pinch grip down for a moment.